I've done this with the Classic Designer (it would be very hard or even impossible to do this with the Modern Designer). Since I see you tagged your post as Version 10, Classic Designer is all you have anyway, so that's a moot point.
Here's an example (tested on Classic Designer Version 11.0.2212.30987).
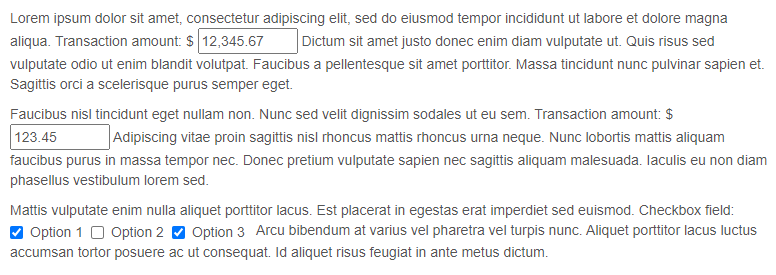
This example includes a custom HTML element with three paragraphs of text (just using some lorem ipsum for example). This also includes 6 span elements within it, that give it locations for the fields to be moved to and any associated errors to be moved to as well. There are also two single line fields (currency fields specifically in this example) and one checkbox field.
Here's how it looks in the Layout designer:
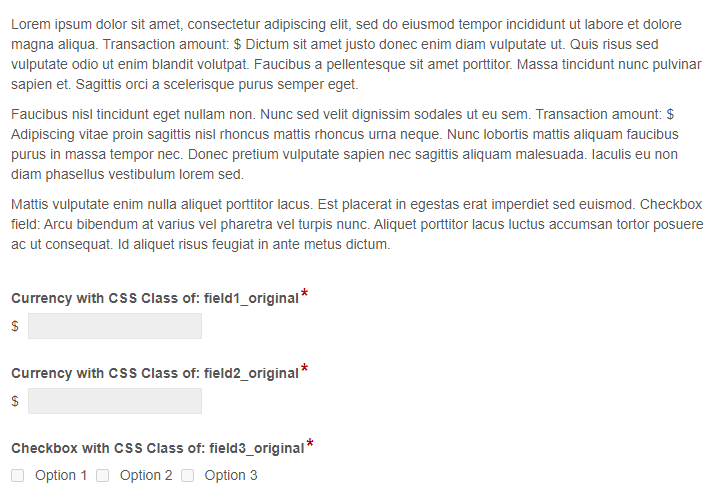
Here's the actual HTML of that Custom HTML element, with the 6 span elements within it.
<p>Lorem ipsum dolor sit amet, consectetur adipiscing elit, sed do eiusmod tempor incididunt ut labore et dolore magna aliqua. Transaction amount: $ <span id="field1_placeholder"></span> Dictum sit amet justo donec enim diam vulputate ut. Quis risus sed vulputate odio ut enim blandit volutpat. Faucibus a pellentesque sit amet porttitor. Massa tincidunt nunc pulvinar sapien et. Sagittis orci a scelerisque purus semper eget.</p><span id="field1_errors"></span>

<p>Faucibus nisl tincidunt eget nullam non. Nunc sed velit dignissim sodales ut eu sem. Transaction amount: $ <span id="field2_placeholder"></span> Adipiscing vitae proin sagittis nisl rhoncus mattis rhoncus urna neque. Nunc lobortis mattis aliquam faucibus purus in massa tempor nec. Donec pretium vulputate sapien nec sagittis aliquam malesuada. Iaculis eu non diam phasellus vestibulum lorem sed.</p><span id="field2_errors"></span>

<p>Mattis vulputate enim nulla aliquet porttitor lacus. Est placerat in egestas erat imperdiet sed euismod. Checkbox field: <span id="field3_placeholder"></span> Arcu bibendum at varius vel pharetra vel turpis nunc. Aliquet porttitor lacus luctus accumsan tortor posuere ac ut consequat. Id aliquet risus feugiat in ante metus dictum.</p><span id="field3_errors"></span>
This Javascript is used to move the fields and their errors messages into those 6 span elements of the paragraph:
$(document).ready(function() {

  //Move the single line field elements into the paragraph.
  //Give them new class names we can refer to later.
  $('.field1_original input').addClass('field1_new').appendTo('#field1_placeholder');
  $('.field2_original input').addClass('field2_new').appendTo('#field2_placeholder');

  //On the readonly or archival version of the form, move the
  //single line field elements into the paragraph.
  $('.field1_original .ro').addClass('ro_underline').appendTo('#field1_placeholder');
  $('.field2_original .ro').addClass('ro_underline').appendTo('#field2_placeholder');

  //Move the checkbox field elements into the paragraph.
  //Give them new class names we can refer to later.
  $('.field3_original .radio-checkbox-fieldset').addClass('field3_new').appendTo('#field3_placeholder');

  //On the readonly or archival version of the form, move the
  //checkbox field elements into the paragraph.
  $('.field3_original .ro').closest('.cf-field').appendTo('#field3_placeholder');

  //Hide the left-over components from the original field positions.
  $('.field1_original').hide();
  $('.field2_original').hide();
  $('.field3_original').hide();

  //Using their new class names, we set-up listeners for after the single line fields
  //are changed or lose focus, to move any parsley errors to their new locations.
  //This references the placeholders when looking for parsley-errors-list, because with
  //single line fields, the parsley-errors-list is appended to the input element.
  $('.field1_new').blur(moveSingleLineErrors);
  $('.field1_new').change(moveSingleLineErrors);
  $('.field2_new').blur(moveSingleLineErrors);
  $('.field2_new').change(moveSingleLineErrors);
  function moveSingleLineErrors() {
    $('#field1_placeholder .parsley-errors-list').appendTo('#field1_errors');
    $('#field2_placeholder .parsley-errors-list').appendTo('#field2_errors');
  }

  //Using their new class names, we set-up listeners for after the checkbox fields
  //are changed or lose focus, to move any parsley errors to their new locations.
  //This references the original field when looking for parsley-errors-list, because with
  //checkbox fields, the parsley-errors-list is not appended to the input element, and
  //therefore it will be in the original location, not the new location.
  $('.field3_new input').blur(moveCheckboxErrors);
  $('.field3_new input').change(moveCheckboxErrors);
  function moveCheckboxErrors() {
    $('.field3_original .parsley-errors-list').appendTo('#field3_errors');
  }

});
I also included this CSS that impacts the fields after they are moved to their new locations.
/*Adjust width of the two single line fields.*/
.field1_new {width: 100px;}
.field2_new {width: 100px;}

/*Needed to ensure checkbox fields are inline with paragraph.*/
.field3_new {display: inline;}

/*Make readonly version of form fields underlined.*/
.ro_underline {border-bottom: 0.1rem solid;}
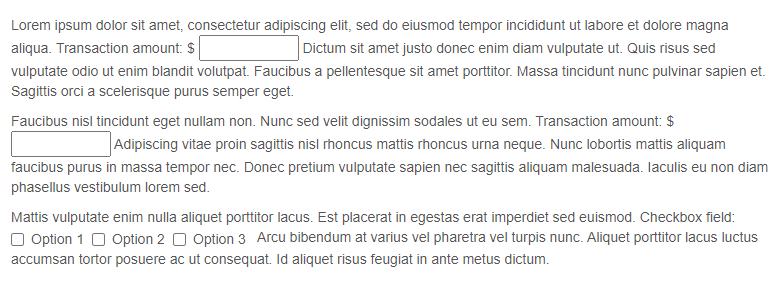
The end result looks like this:
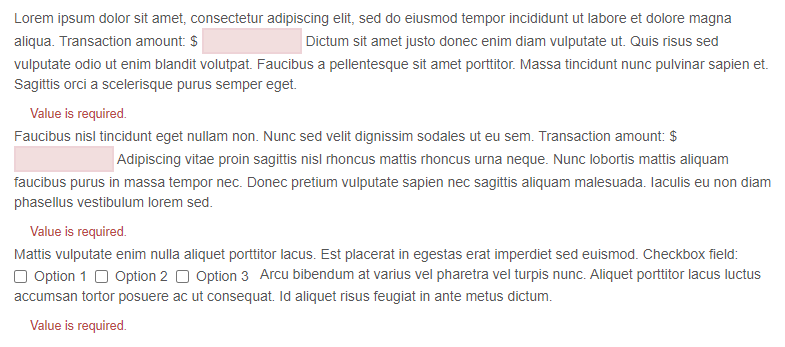
And when error messages are present:
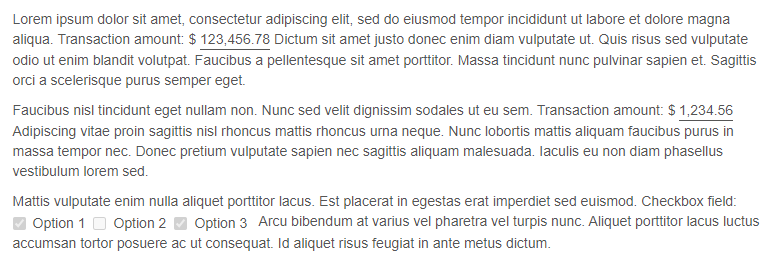
And when the form is populated:
And the readonly/archival version of the form:
